SmartRecord Archive Scheduler
The SmartRecord Archive Scheduler is a tool which downloads recorded media to an archive location. It consists of a Windows Service application running on a User’s Windows workstation, a management interface accessible from the SmartRecord User Portal, and a Server API providing data and media assets to the Service. It downloads and archives media as a one-off or as a repeating scheduled process.
Archive Scheduler Planning and Considerations
- The Archive Scheduler service does not manage a User’s Windows workstation drive storage. If the workstation runs out of storage space, the service will have errors and media may not be archived. It is necessary for the User to provision enough drive space to handle the expected storage requirements.
- An API Key is given to the User configuring the service. A single SmartRecord User cannot have more than one instance of the Archive Scheduler configured to run. If a User configures the Archive Scheduler on a workstation, any other workstations previously configured by that User will not be able to archive media.
- The Archive Scheduler does not secure media files downloaded to a workstation’s Storage Folder Path. It is the User’s responsibility to secure files located in the Storage Folder Path in order to prevent files being lost or stolen.
- Multiple Users may configure the Archive Scheduler on the same workstation. However, care should be taken Users do not download files to a Storage Folder Path which any other User can access. Users are responsible for securing their Storage Folder Path in order to prevent files being lost or stolen.
Archive Scheduler Management Portal
Locate and Open the Archive Scheduler Module
- Open the SmartRecord App.
- Sign in as a Tenant Admin User.
- Click the Modules icon in the Main Menu Bar.
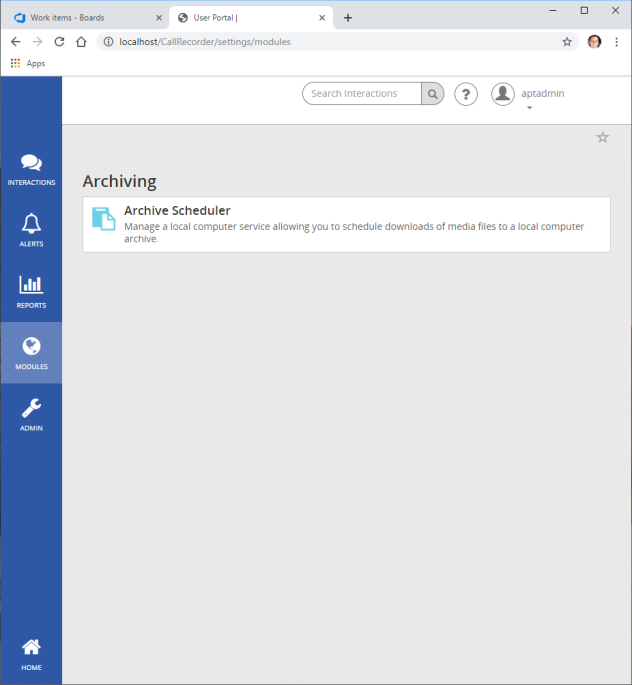
- Click the Archive Scheduler button to open the Archive Scheduler management interface.
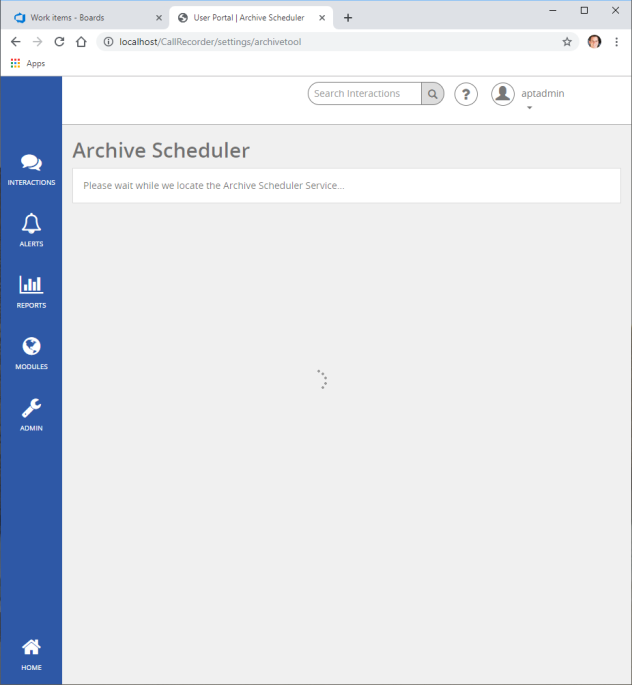
- You will see a waiting icon as the web page attempts to locate the Archive Scheduler service application.
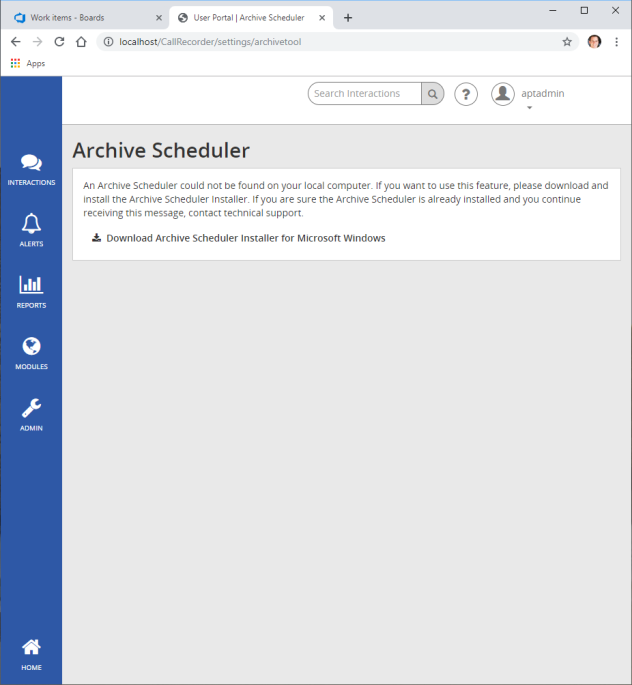
- If no application is found, you will see a message indicating you must download and install the application. Please go to the section of this documentation titled Archive Scheduler Windows Installer or more information.
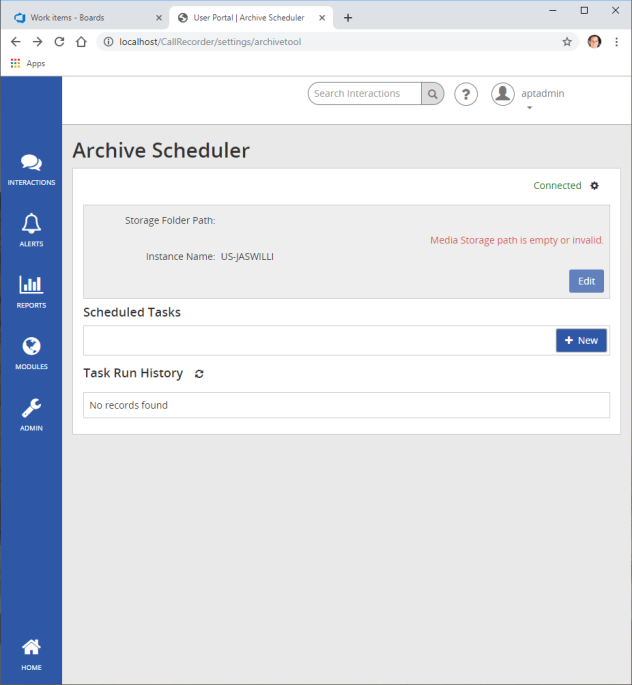
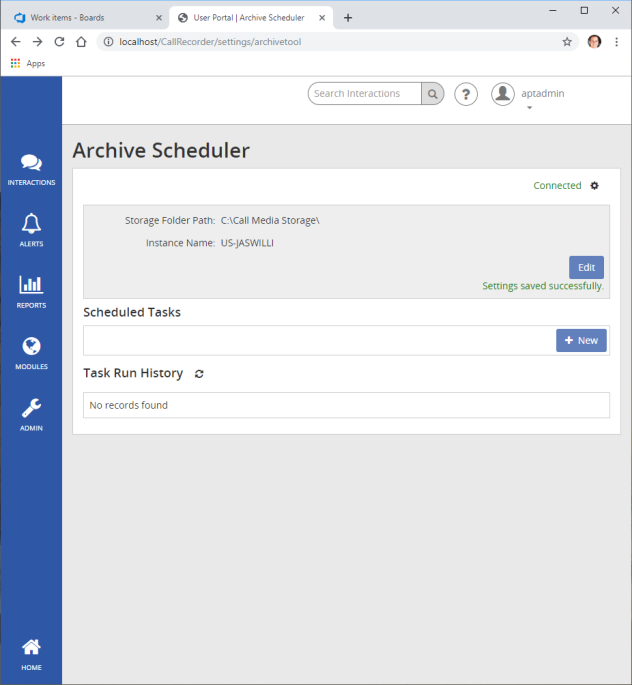
- The Archive Scheduler management interface will load with the default settings.
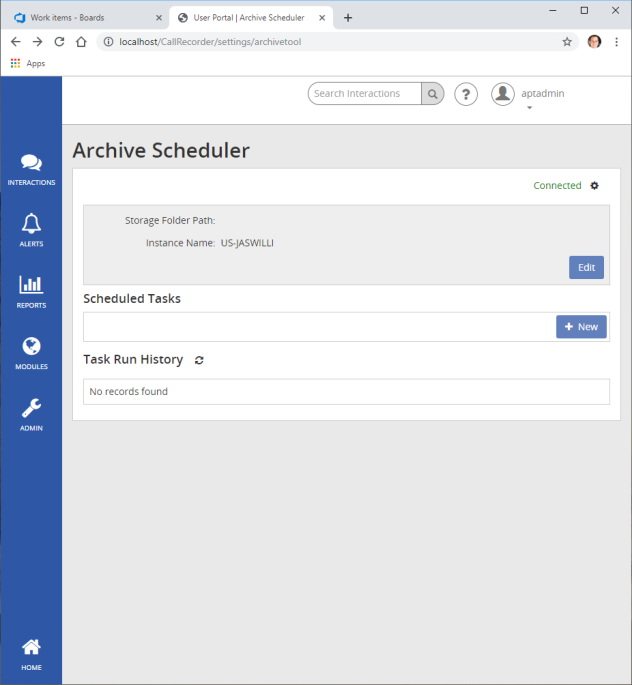
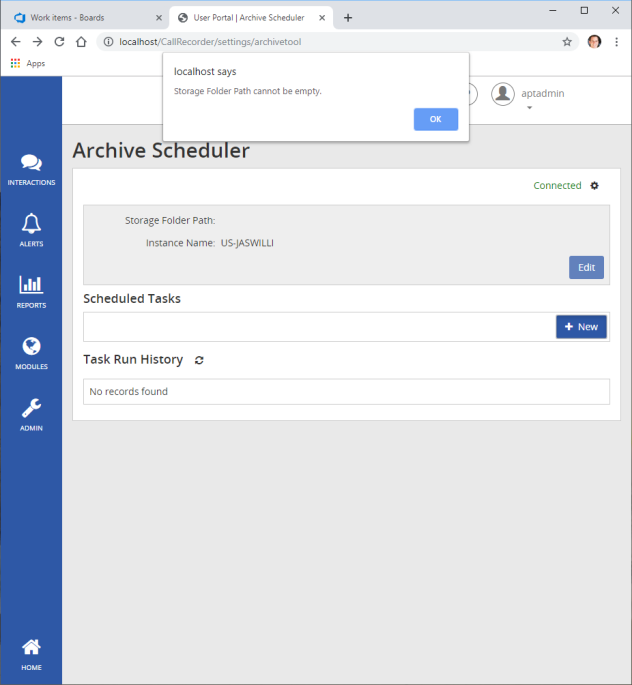
- Attempt to create a New Scheduled Task. You will see a message indicating the Storage Folder Path cannot be empty.
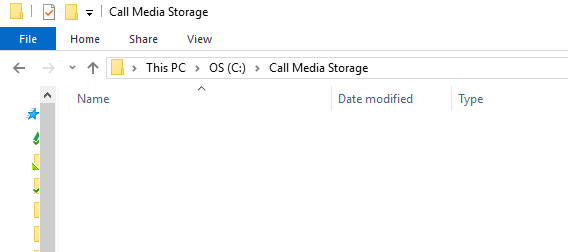
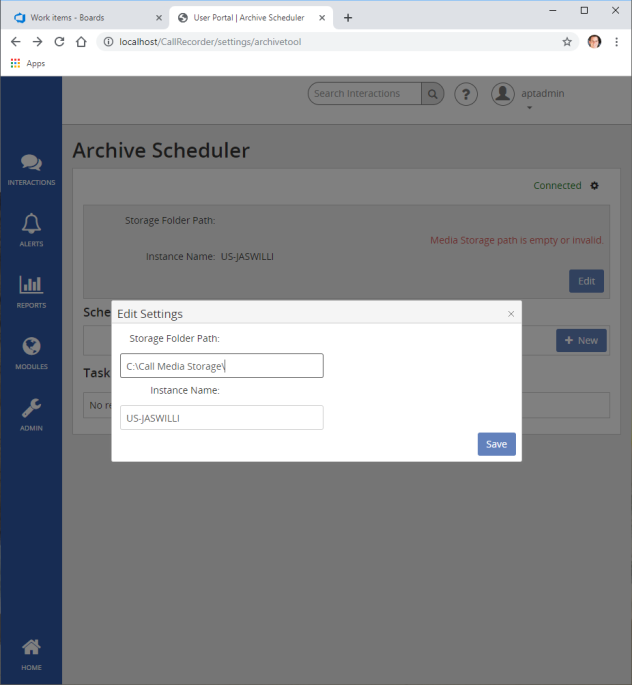
- Click the Edit button to set your Storage Folder Path. The Storage Folder Path can be any folder path on your system and which the Archive Service has permissions for Reading from and Writing to files. In this example, I created a folder at the root of my C:\ drive called Call Media Storage. My Storage Folder Path is C:\Call Media Storage\. Your Storage Folder Path may differ.
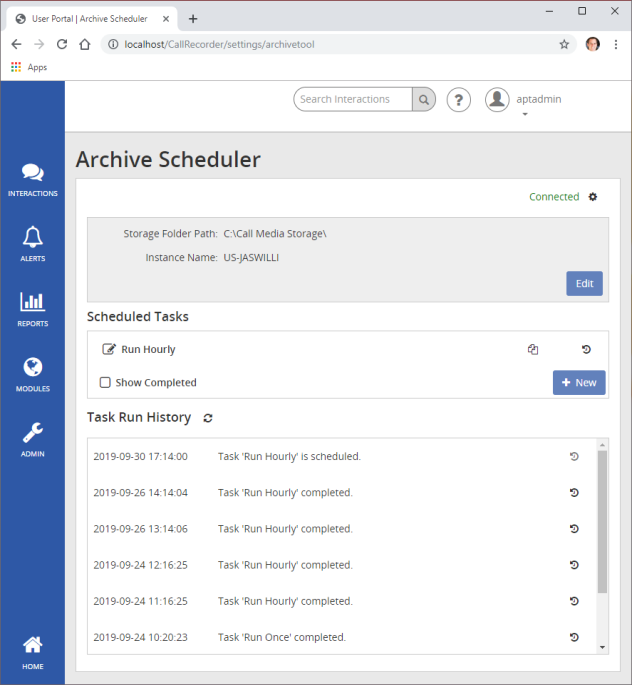
- Save your Storage Folder Path. There is an additional option for Instance Name. This will default to your local computer’s name. However, you may change the Instance Name to whatever fits your business model.
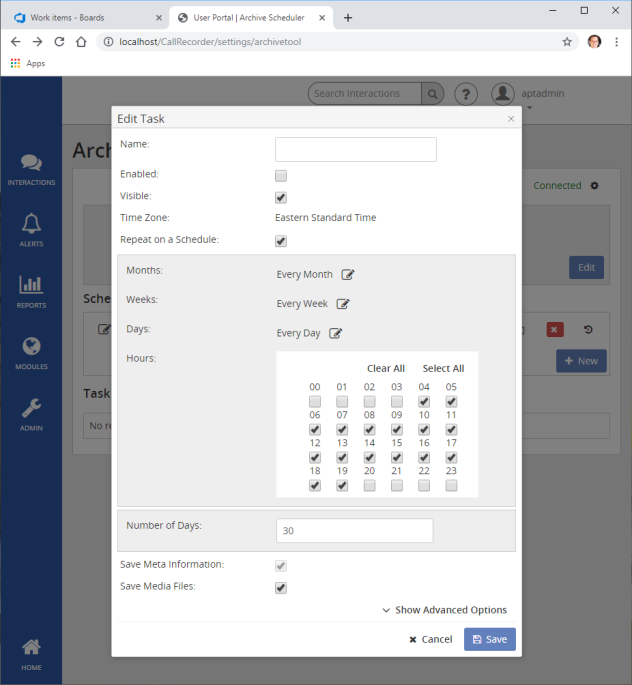
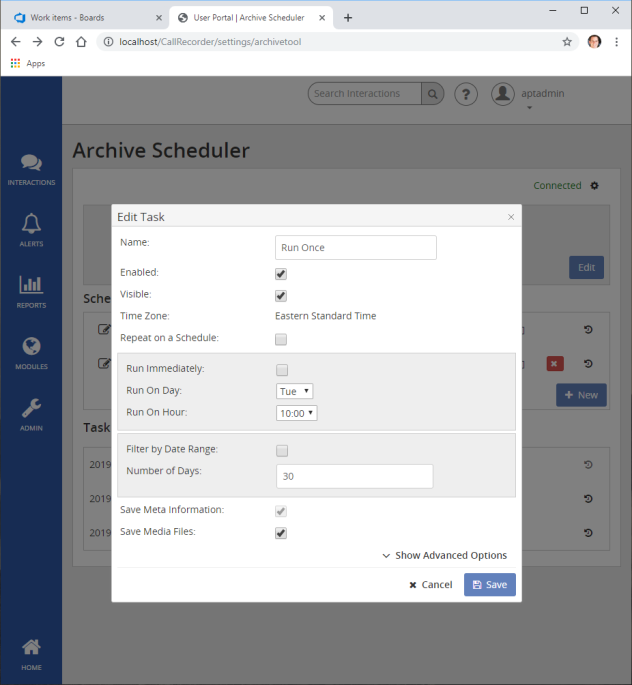
- Create a new Scheduled Archive Task. When a task is set to “Repeat on a Schedule”, the Scheduled Task will run on each prescribed Hour, Day, Week, and Month. “Number of Days” indicates how far back the Task will search for un-archived media. If a Task runs Hourly, it should only download media for the past hour. However, the Task will check the last x days (30 days in my example) for media which may have been missed by previous downloads.
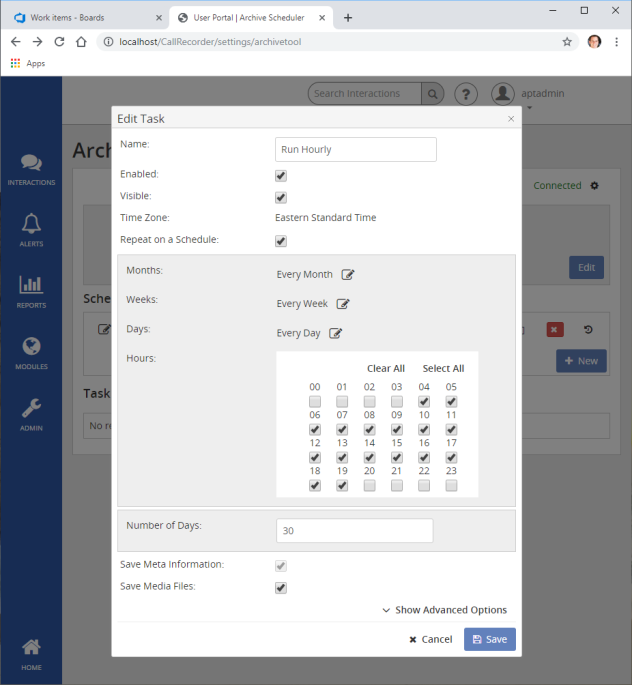
- Save the Scheduled Archive Task. Click the Save button on the dialog. Resolve any validation errors which may appear.
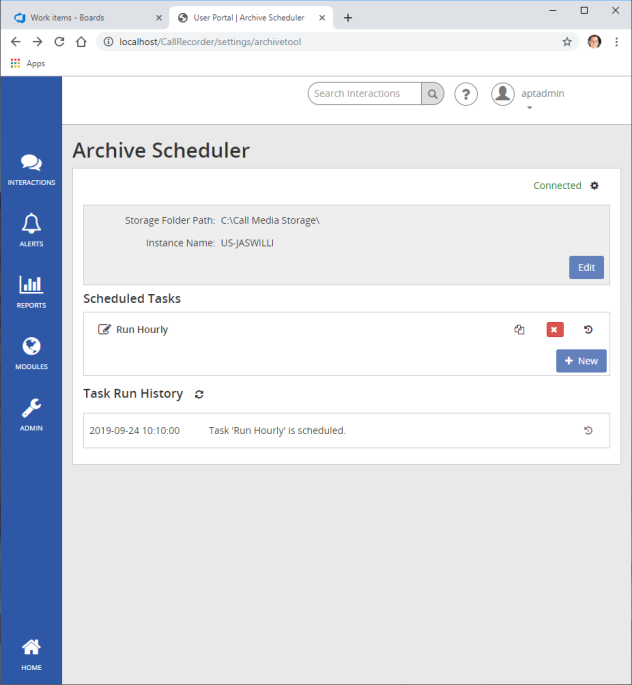
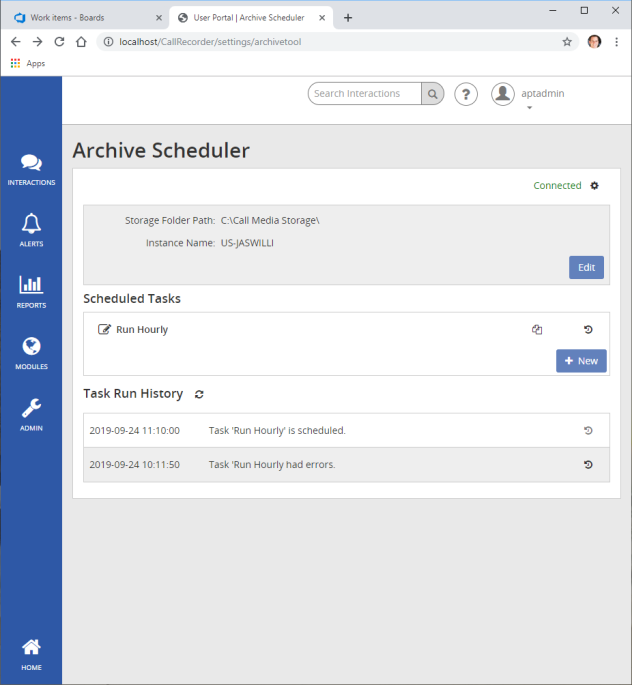
- View the Scheduled Archive Task in the Scheduled Tasks list. Note that a date appears in the Task Run History item indicating when the Task is next scheduled to run.
- Create a Run Once Archive Task. A Run Once Task will not repeat itself. In the Task Options, unselect the option for Repeat on a Schedule. Additional options will appear. Select Run Immediately if you want to run the Task now. Unselect Run Immediately if you want to run this Task at a day and time in the future (limited to a single day and hour less than 1 week in the future).
- Once a Task completes a scheduled run, it will appear in the Task Run History with a message, “Task ‘[[my task]]’ completed.” Each Task Run History Item has an option to expand that item for more information.
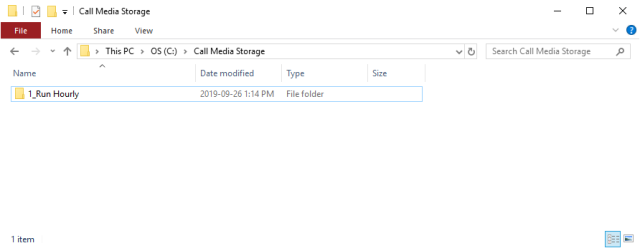
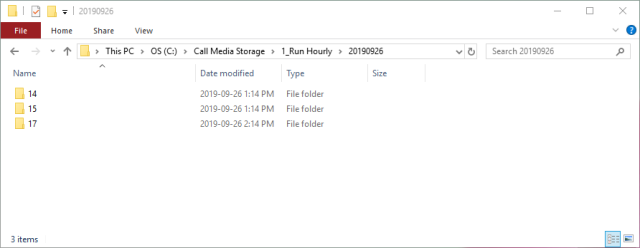
- Downloaded files will be available on your computer at the folder path specified in your Storage Folder Path setting. In my example, files are available at C:\Call Media Storage\. The Archive Scheduler will organize your media into folders. A top level folder will be created based on the name of your Task. In my example, the Task Folder name is 1_Run Hourly.
- Inside of the Task Folder, additional Date Folders are created.
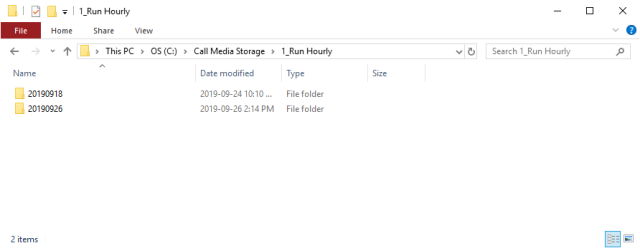
- Inside of each Date Folder, additional Hour Folders are created.
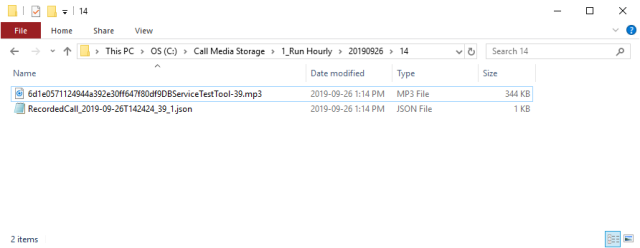
- Inside of each Hour Folder, the downloaded media files will be available. Note that each media file will also have a corresponding .json meta file containing information about the media file.
Archive Scheduler Task Run History Errors
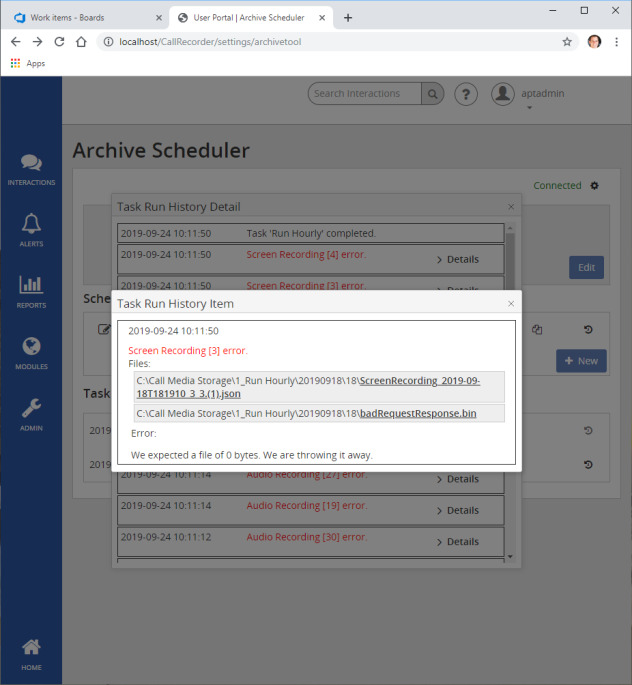
- Errors may appear in the Task Run History list. See the message “Task ‘Run Hourly’ had errors” in the Task Run History list. Each message includes an option to expand for more information.
- The Task Run History Detail dialog shows when the Task started, when the Task completed, and a message for each media file for which the Archive Service attempted download. Each Task Run History Item has an option to expand that item for more information.
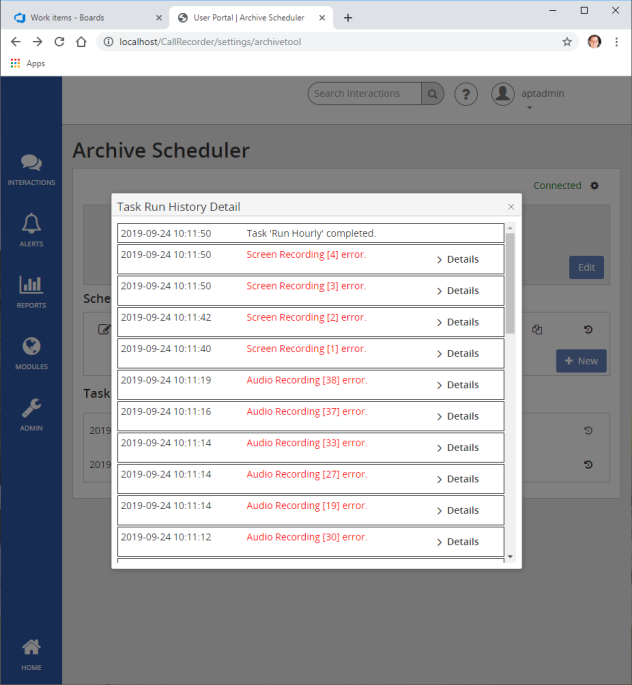
- The Task Run History Item dialog shows the path to which each file should have been saved to the local computer as well as a message indicating what type of error occurred. Notice there are always two files. The file with a .json extension is a meta file with details about the particular media file.
Archive Scheduler Windows Installer
If you do not have the Archive Scheduler Client Service installed or do not have the current version installed you will be prompted to download the ClientServiceSetup.exe when accessing the Archive Scheduler page. It can also be downloaded via the Client Downloads page.
Once downloaded click to Install it or locate the downloaded installer and follow the below steps:
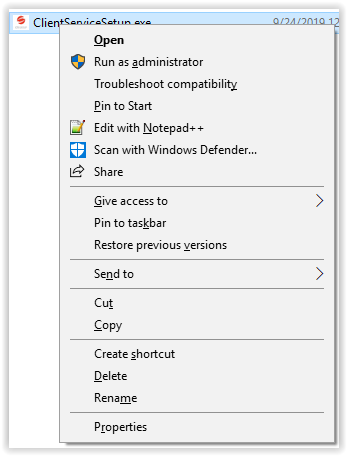
- Open the ClientServiceSetup.exe file with the option to Run as Administrator.
- If prompted by Windows UAC allow the installer to make changes
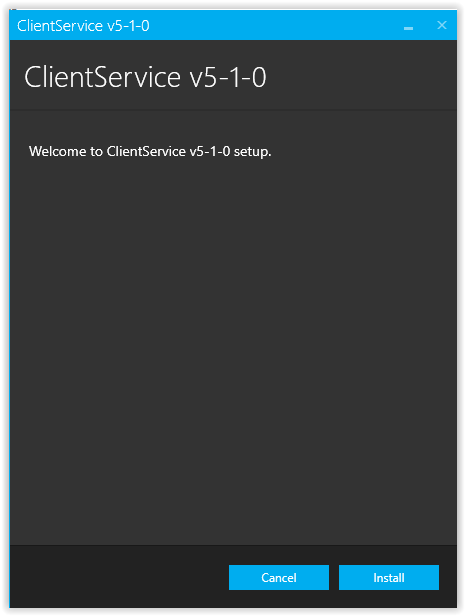
- The Installer will start. Click the option to Continue.
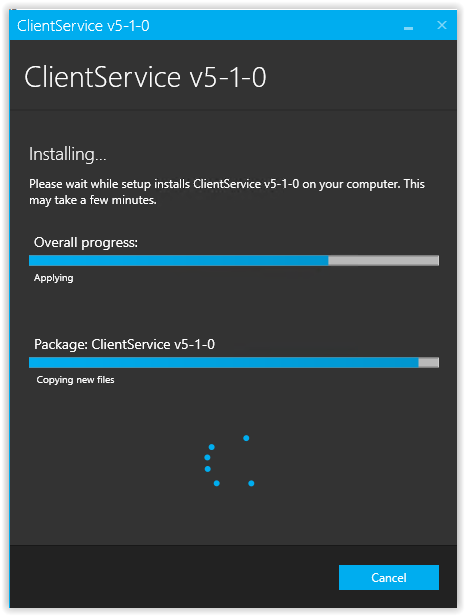
- The installer will show progress bars. This process may take a few moments.
- When the process is complete, select the option to either Close the installer or to Restart your PC.

Archive Scheduler Service
- The Archive Scheduler Service runs as a Windows Service background application on a User’s local Windows workstation.
- The Archive Scheduler Service has a localhost address on http://localhost:[PORT]/. It may use one of five port numbers, 9218, 9225, 9232, 9239, or 9246. These port numbers should be allowed for use by the Archive Scheduler Service in the User’s local computer’s firewall settings.
- The Archive Scheduler Service will communicate with the SmartRecord website via APIs. The User’s local Windows workstation must have access to the SmartRecord website to function.
- The Archive Scheduler Service will restart and continue normal Scheduled Tasks in cases of system reboots and power failures.
- NOTE: Tasks scheduled during times when the system power is off will not run and, once the system is back online, will not run for any previous times scheduled within the power outage window.
- The Archive Scheduler Service may be accessed from your computer’s Windows Services Snap In dialog. Users familiar with this dialog will know how to Start, Stop, Restart, and Uninstall Services.